Django Setup
Django Environment & Project Setup
Django is a free and open-source web framework written in Python that adheres to the model template view (MTV) software architectural pattern, its core principles being scalability, re-usability and rapid development.
The model is the single definitive source of your data.
The view describes the data that gets represented to the user via a Python callback function to a specific URL.
The template is how Django generates HTML dynamically.
To set up a Django development environment, We are going to install Python 3, pip 3, Django and virtualenv in order to equip you with the tools necessary for developing web applications with Django.
Step 1 — Setting Up Python 3
$ sudo apt update
$ sudo apt -y upgrade
Once everything is updated, we can install Python 3:
sudo apt-get install python3
To verify the successful installation of Python 3, run a version check:
python3 -V
Now that we have Python 3 installed, we will also need pip in order to install packages from PyPi, Python’s package repository.
sudo apt-get install -y python3-pip
To verify that pip was successfully installed, run a version check:
pip3 -V
Step 2 — Install virtual environment
A virtual environment is a contained development space where you can install software and Python packages which isolates the installed software and packages from the rest of your machine’s global environment.
This prevents conflicting packages or software from interacting with each other.
To install virtualenv, we will use the pip3.
pip3 install virtualenv
Step 3 — install Django
Note: We’ll be installing Django using pip within a virtual environment.
First we create a directory that will contain our django application.
mkdir django-app
Second, we move into our newly created directory.
cd django-apps
Third, inside the django-apps directory, create your virtual environment called my_env.
python3 -m venv my_env
Now, activate the virtual environment:
source my_env/bin/activate
You’ll know the virtual environment is activated once the prefix is changed to (my_env), which will look similar to the following depending on what directory you are in:
(my_env)elywin@elywin:~/projects/blog$
Now that we are in the virtual environment, install the Django package using pip.
pip install django
Verify your Django installation:
django-admin –version
With Django installed, we can now creat a test project to make sure everything is working correctly.
Step 4 — create project To create a project run the following command:
django-admin startproject djangoprojectname
Move into the project directory
cd djangoprojectname
Create the django app
python3 manage.py startapp app_name
Once that is done, go to settings.py file, under INSTALLED _APPS add ‘app_name’

Run the migrate command to setup the databse:
python manage.py migrate
Create super user(for accessing the database):
python manage.py createsuperuser
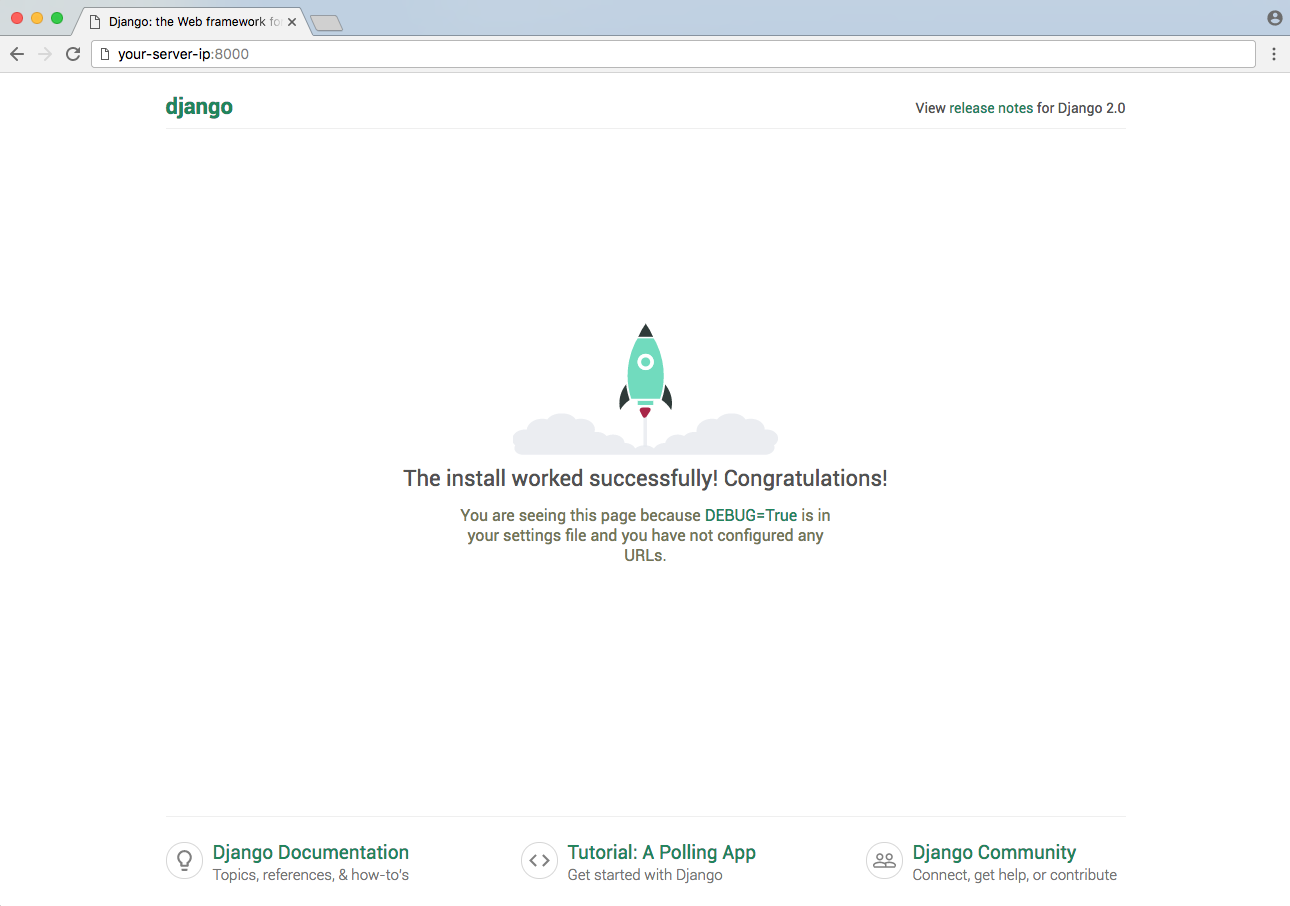
Now we can run the server to see our output
python3 manage.py runserver
Navigate to the link below in the browser to see the output:
http://127.0.0.1:8000/

To access the admin dashboard, add admin to the url:
http://127.0.0.1:8000/admin
When you are done with testing your app, you can press CTRL + C to stop the runserver command.
When you are ready to leave your Python environment, run the deactivate command:
deactivate